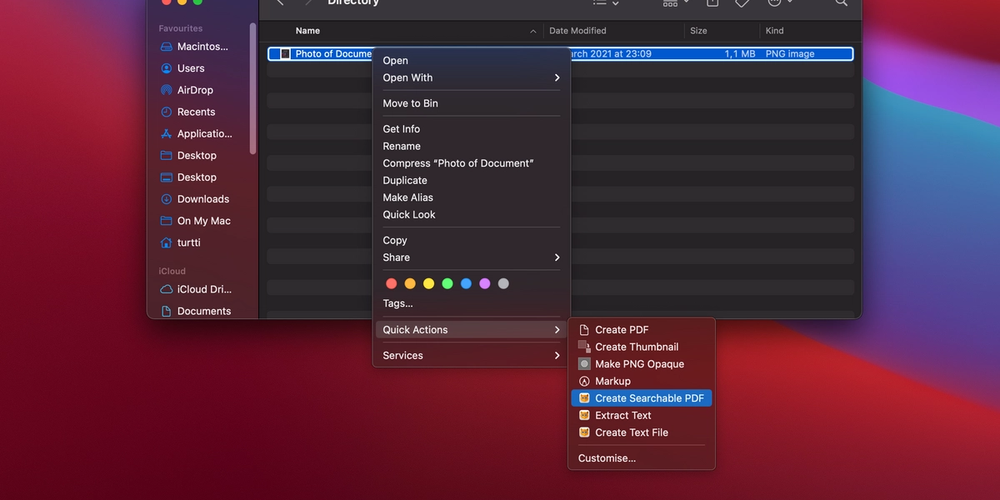
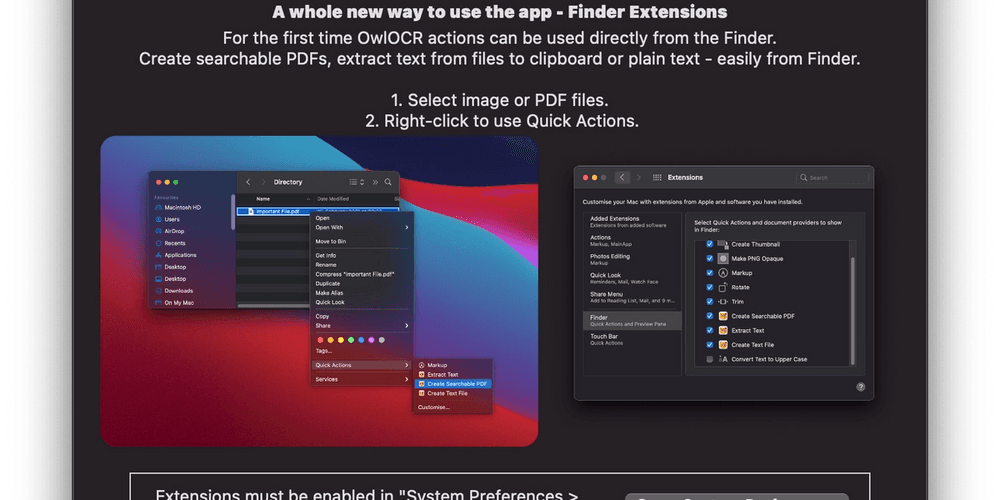
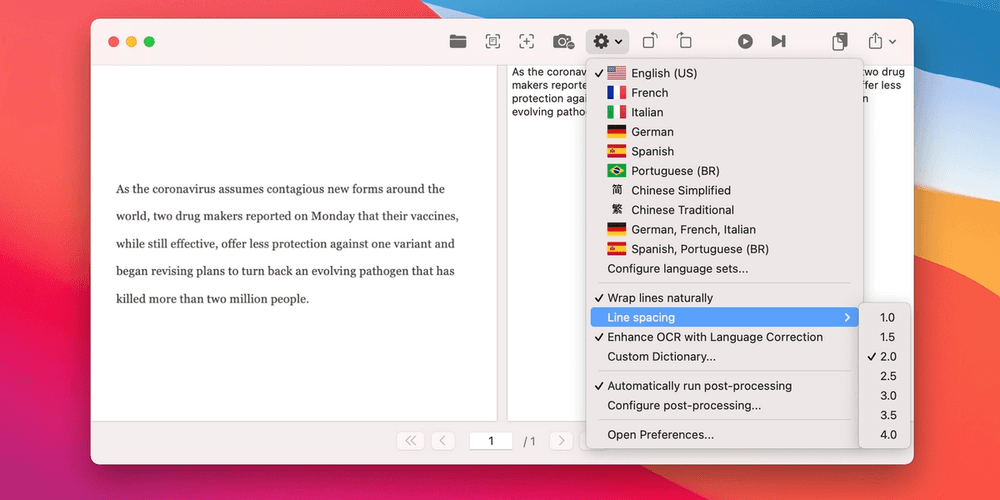
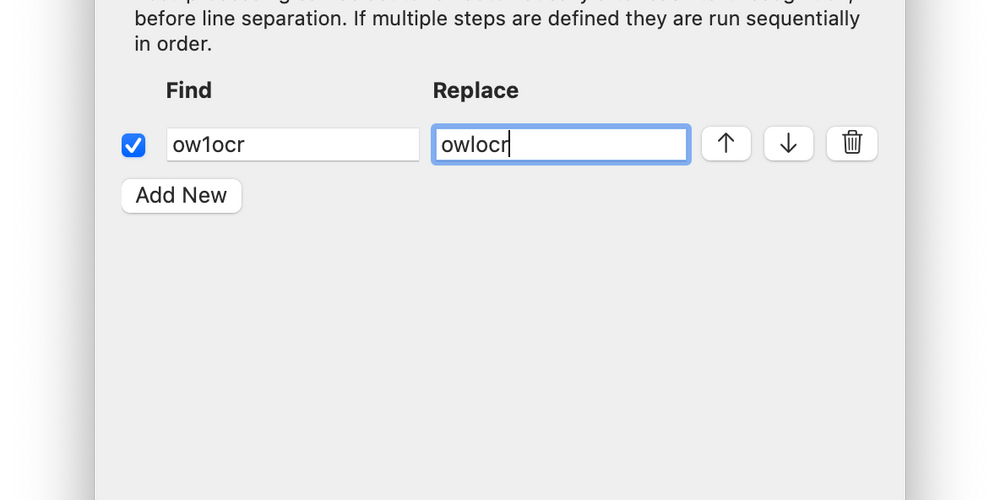
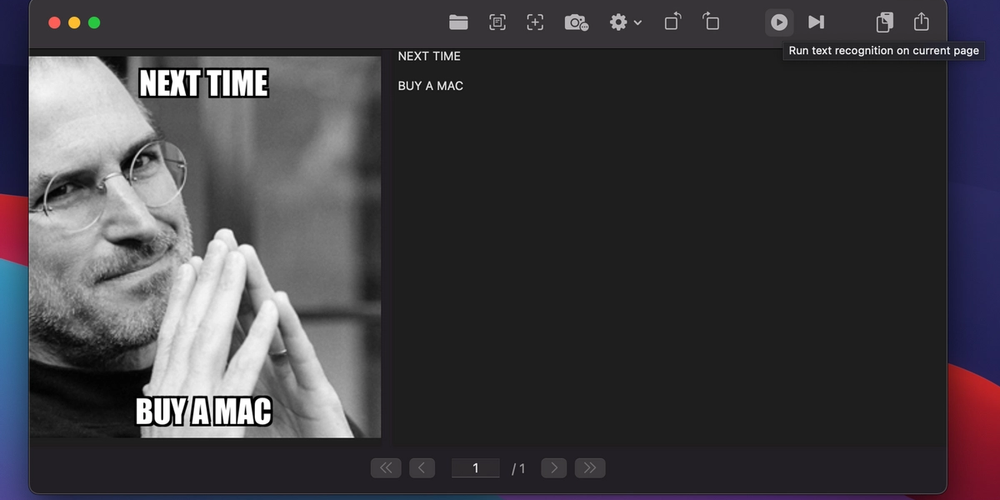
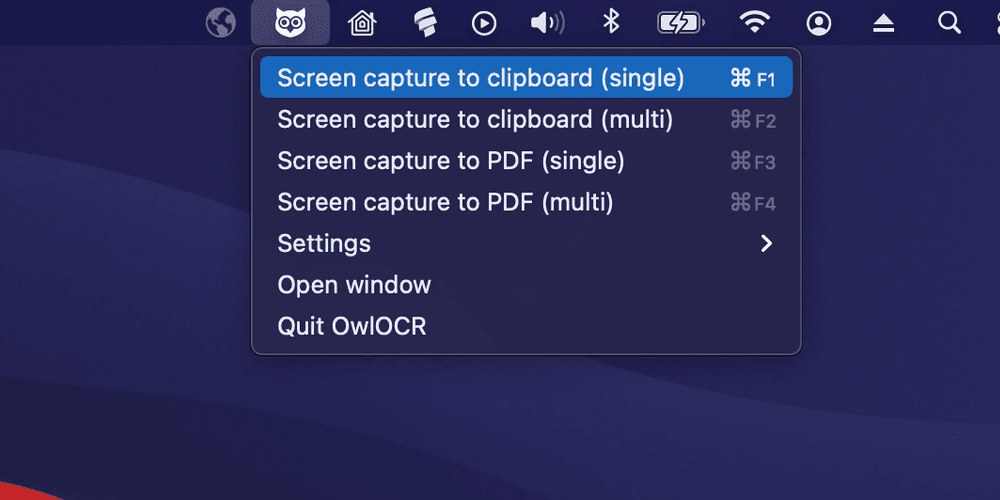
OwlOCR in its previous iterations has supported multiple different ways of interfacing with it: a windowed application, a menubar app and Finder extensions.
In OwlOCR 5, a brand new command line interface (CLI) is provided. CLIs are very powerful for integration as you can call them from practically anywhere.
How to use
Start the app through the terminal by calling the executable inside the app bundle from the terminal:
/Applications/OwlOCR.app/Contents/MacOS/OwlOCR --cli
OwlOCR CLI can be used for many different workflows where at the core is optical character recognition. The application run consists of the following steps.
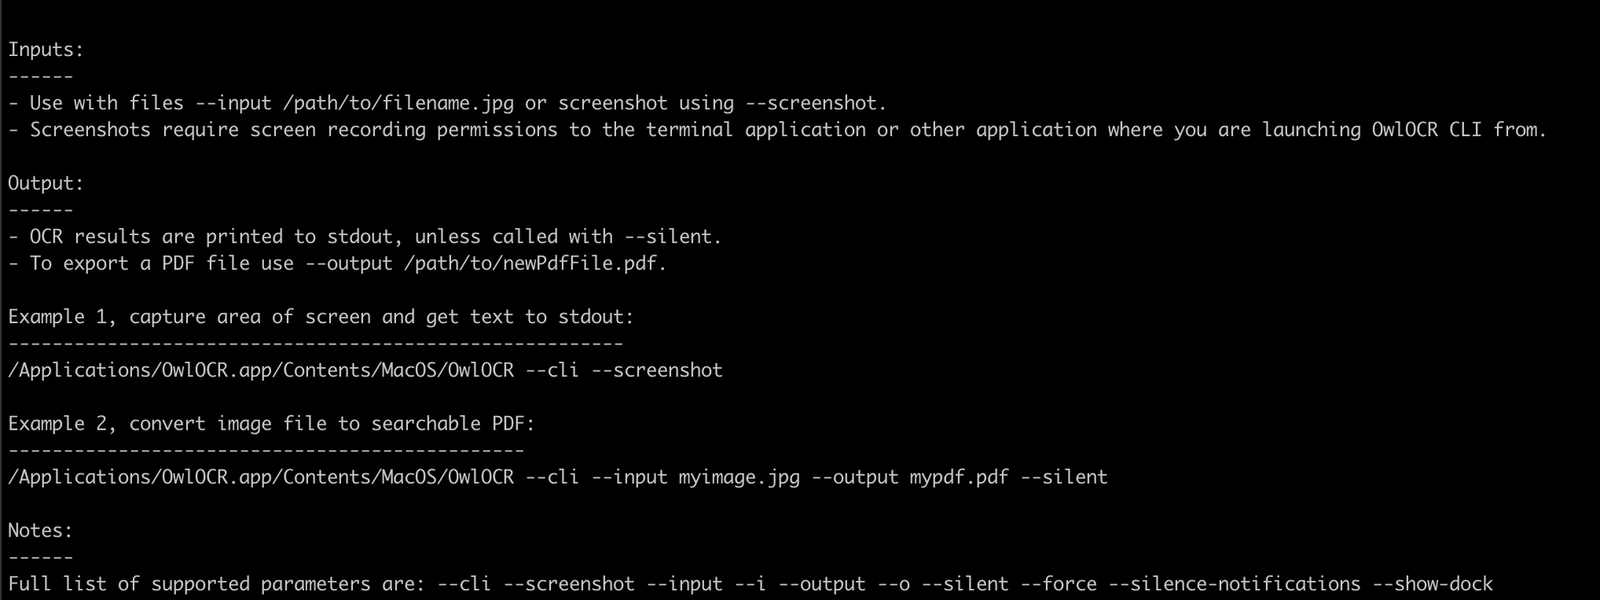
- Define the input (options are
--screenshot, or --input [filename]).
If screenshot is selected you need the select the region of your screen with your mouse that you wish to use. Please note the required screen recording permissions for the app that opens OwlOCR (e.g. terminal, iTerm, Hazel).
- Define the output.
By default the plain text is output to stdout. To silence stdout, use --silent.
- Define output export.
If you wish to output a searchable PDF file, you can define --output [filename].
- Other options that can be used are
--show-dock : shows the OwlOCR app icon in dock for the duration of the run
--silence-notifications : silence OwlOCR notifications for the duration of the run
--force : create the output file even if one exists already, overwriting the old file
Example 1, capture area of screen and get text to stdout:
/Applications/OwlOCR.app/Contents/MacOS/OwlOCR --cli --screenshot
Example 2, convert image to searchable PDF:
/Applications/OwlOCR.app/Contents/MacOS/OwlOCR --cli --input myinputimage.jpg --output mysearhablepdffile.pdf --silent
-------
OwlOCR 5 is now released and can be downloaded from the Mac App Store.


